Using Complete Price Jobs
A new Complete Jobs pricing structure has been added to the Custom Jobs screen. This works in a similar way to a Fixed Price job, but the lines can be priced individually, allowing the true costs to be recorded.
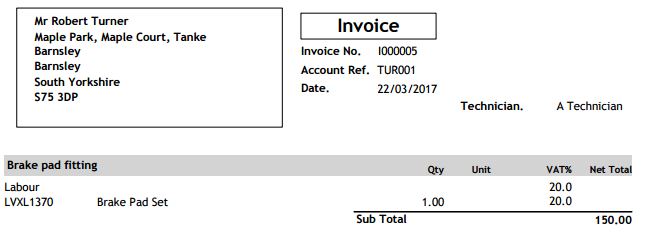
A final selling price for the job is set, and hidden price adjustment lines are created to make up differences in price. When a Complete Price job is printed on a customer-facing document, only the job sub-total price will be displayed, individual part numbers and descriptions will be displayed, but their pricing will be hidden.
The adjustment lines created can be set to use a specific Nominal Code for profit and loss analysis, and exporting to Sage.
Please note: In some cases, margin reports may be affected by the use of Complete Price jobs. The parts and labour totals used in reports will not include the adjustment values, but they will be included in the overall profit analysis reports which use all lines of data.
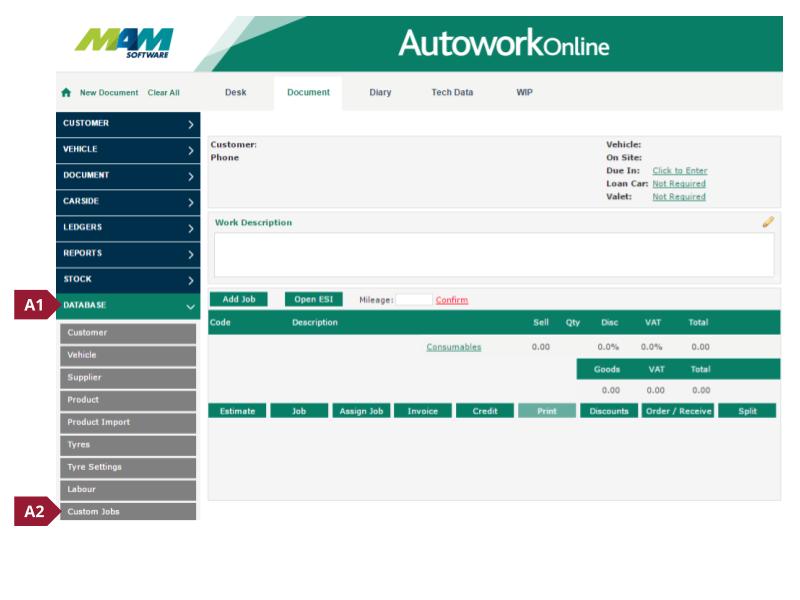
A. From the Database menu (A1), select the Custom Jobs option (A2).
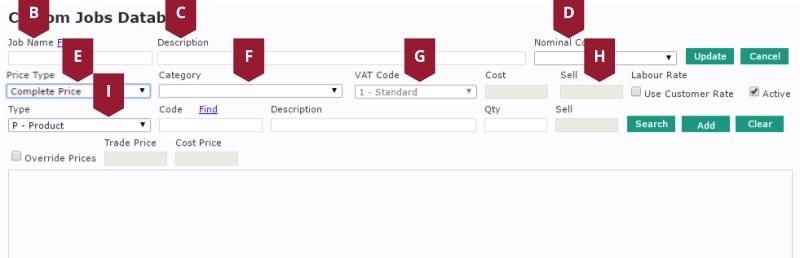
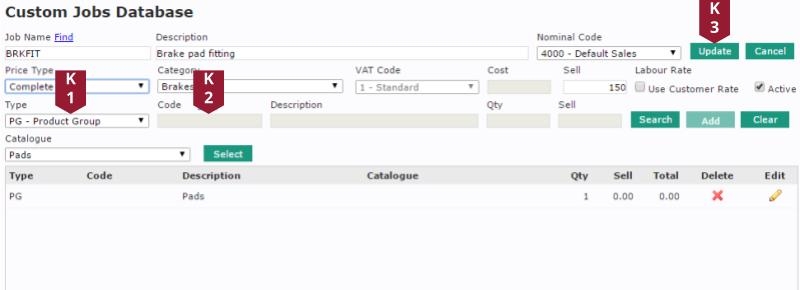
B. Enter a Job Name, Description (C), Nominal Code (D), Category (F), and VAT Code (G). Set the Price Type dropdown menu (E) to Complete Price, enter a Selling price (H), and the Type dropdown menu (I) to PG – Product Group
C. A new Catalogue dropdown menu (J1) will appear, set this to the required product group, and then click the Select button (J2).
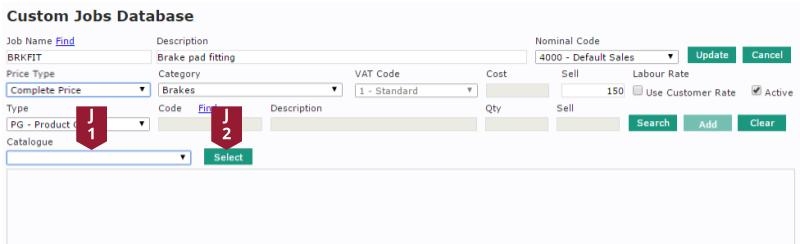
D. A new product group line will be added to the table, this represents a part selected from the catalogue, which can have a variable price based on the
particular vehicle. Add a labour line by selecting L – Labour from the Type dropdown menu (K1), then enter the relevant Labour Code (K2). This
process can be repeated to add individual parts and Work Descriptions if required. When you are happy with your job, click the Update button (K3).
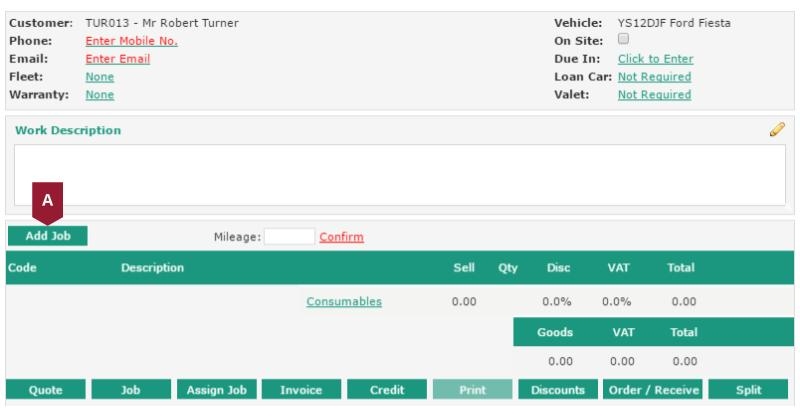
A. On the Document tab, with a customer and vehicle entered, click the Add Job button.
B. Click the Jobs option.

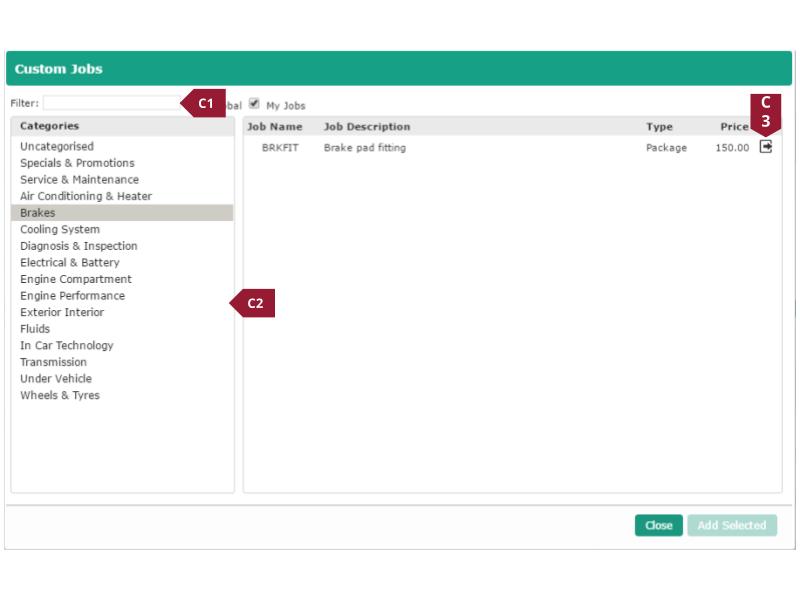
C. In the Custom Jobs screen, select the appropriate Category (C1), or enter a Filter query (C2), then click the Add button (C3) against the appropriate job.
D. The Catalogue will automatically open with the correct registration and product group pre-entered. Click the Add button (D1) for the required part(s), then click the Add to basket button (D2), followed by the Finish button (D3).

E. Line level prices will be shown in the grid (E1), but the total for the job (E2) will equal the amount set in the Complete Price job regardless of these.
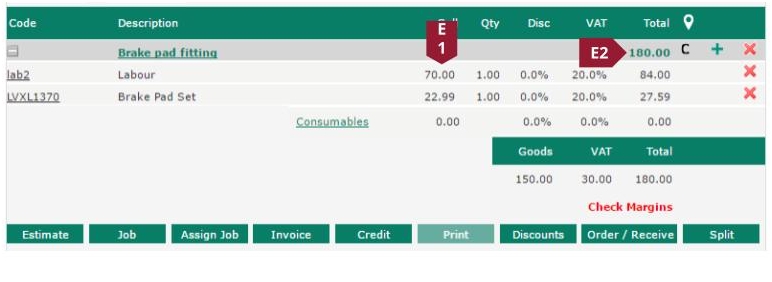
F. The line level values will not be shown on the customer’s invoice, only the sub-total for the job.