Importing to Sage
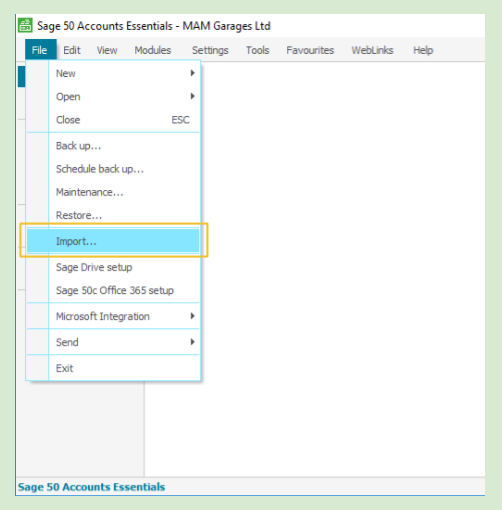
To import data into Sage, open Sage and from the File menu select Import.
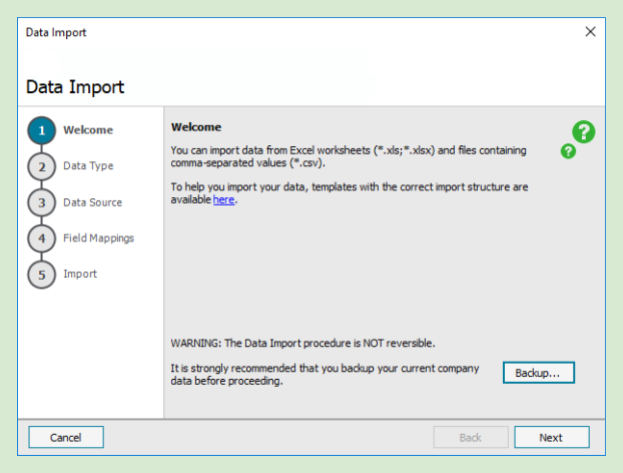
The Data Import Wizard will now open, which starts at Stage 1 (Welcome). Select the Next button.
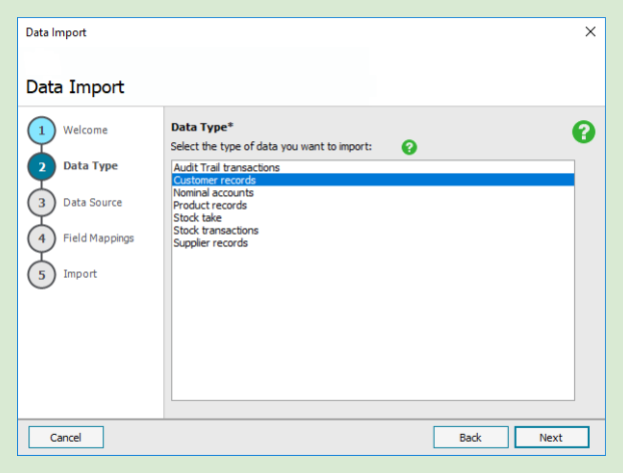
The first items to import are the customer records. Once highlighted, select Next.
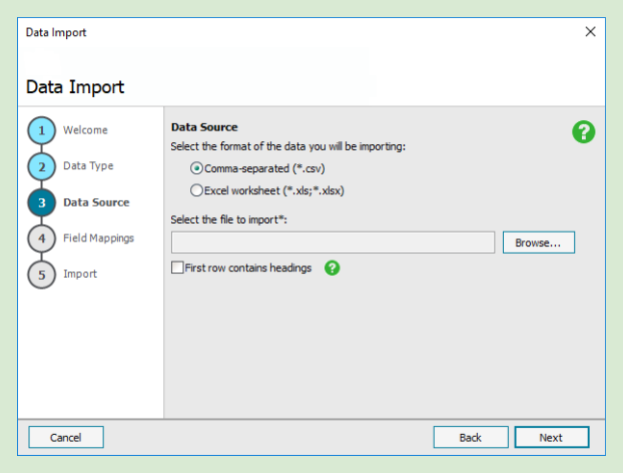
The data source type first needs to be set to comma-separated (*.csv). To select the customer records to be imported, click the browse button.
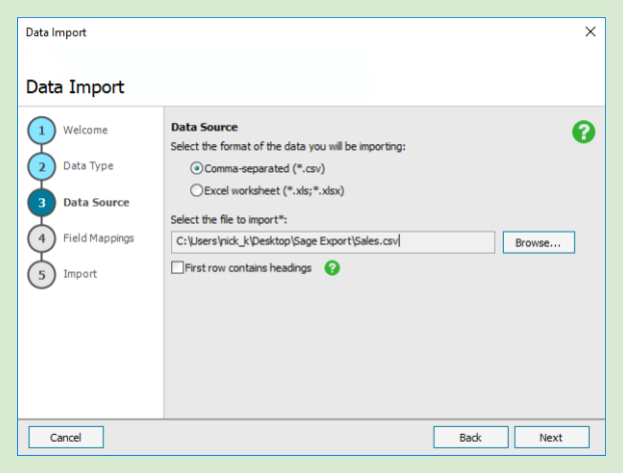
Once the browse button has been selected, look for the location of the sales.csv file downloaded from Autowork Online. This will usually be located directly on the desktop or in a Sage Export folder on the desktop.
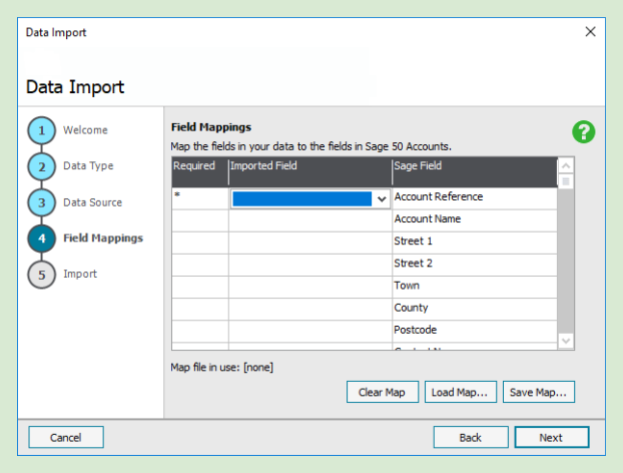
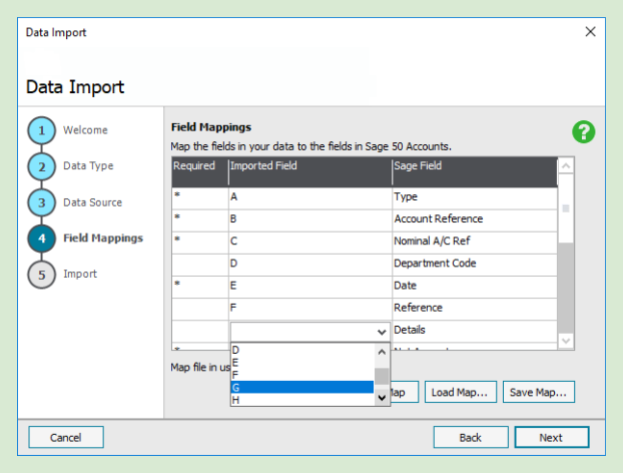
The first time data is imported you will need to create an import map for the correct data fields.
To do this, click on the Import Field line, and from the drop down select the relevant letter associated with the Sage Field.
These are as shown in the screen:
Field A map to Account Reference
Field B map to Account Name
Field C map to Street 1
Field D map to Street 2
Field E map to Town
Field F map to County
Field G map to Post Code
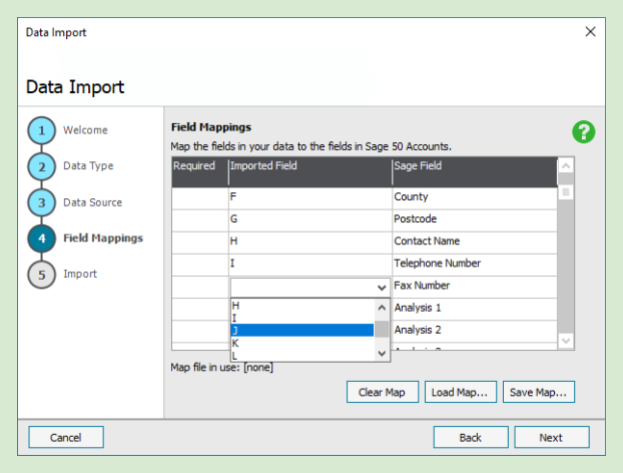
Field H map to Contact Name
Field I map to Telephone Number
Field J map to Fax Number
Field S map to Credit Limit
Field X map to Tax Code
Field Y map to Email Address
Field AA map to Telephone 2 (Mobile)
Select Save Map to save above settings, select the Next button.

Select Finish to import the customer records.
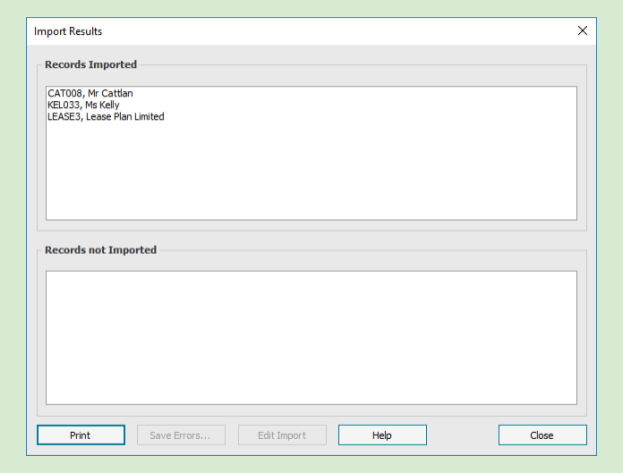
Your customer records will now be imported into Sage, with the screen displaying records imported.
N.B Step 6 mapping fields only needs to be carried out on the first import as once saved this will automatically be set up using Load Map.
Now the customer records have been imported, the transactions can be imported. Go back to Step 1 to File and Import to display the Data Import Wizard.
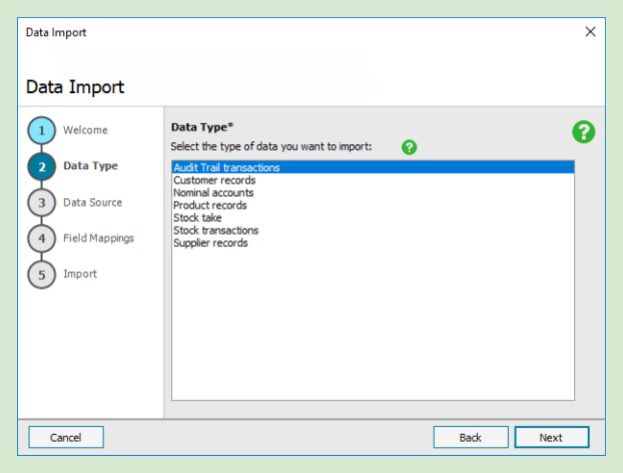
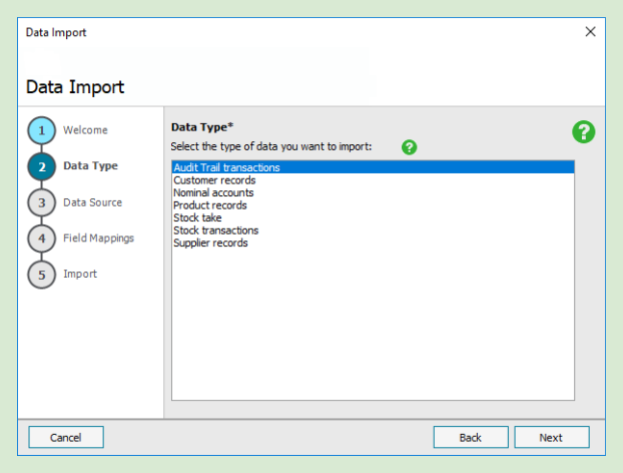
The next items to import are the nominal transaction records or Audit Trail Transactions. Once highlighted, select Next.
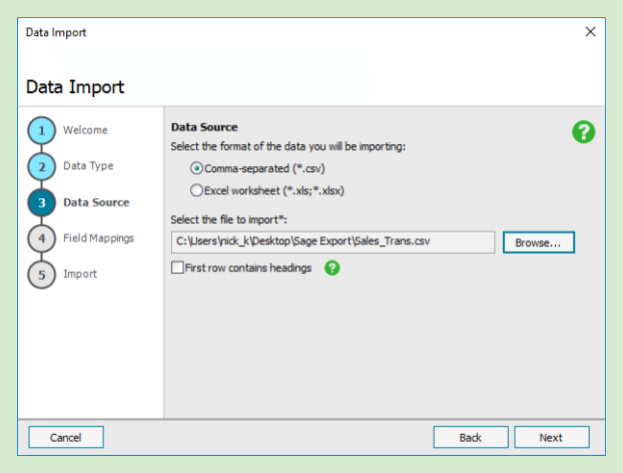
The data source containing the nominal transactions needs to be selected using the browse button. This is the Sales_Trans.csv downloaded from Autowork Online.
Once the browse button has been selected, look for the location of the sales_trans.csv file downloaded from Autowork Online. This is usually found directly on the desktop or in a Sage Export folder on the desktop.
The first time data is imported, you will need to create an import map for the correct data fields.
To do this, click on the Import Field line and from the drop down select the relevant letter to associate with the Sage Field.
Field A map to Type Imported
Field B map to Account Reference
Field C map to Nominal A/C Ref
Field D map to Department Code (if required)
Field E map to Date Field F map to Reference
Field G map to Details
Field H map to Net Amount Imported
Field I map to Tax Code Imported
Field J map to Tax Amount
Select Save Map to save above settings, select the Next button.
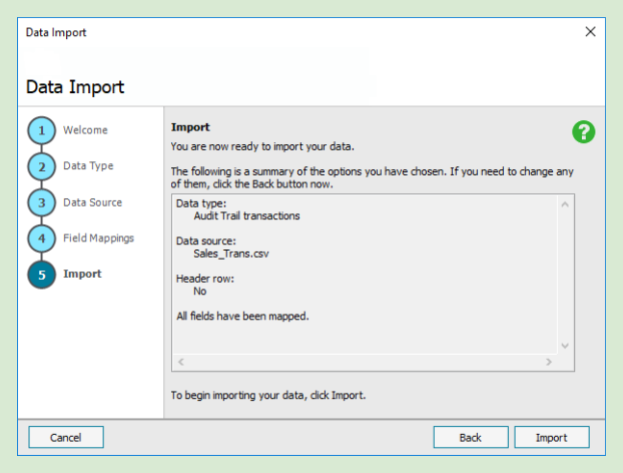
Select Finish to import the transaction records.
Your transaction records will now be imported into Sage with the screen displaying records imported.
N.B Step 6 mapping fields only needs to be carried out on the first import, as once saved this will automatically be set up using Load Map.
TO IMPORT PURCHASES
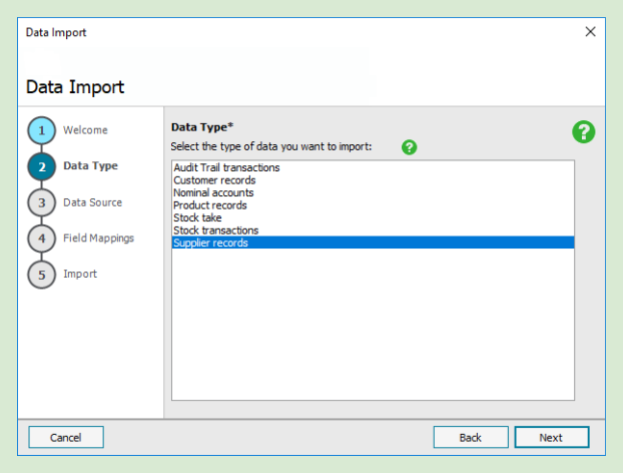
Follow the steps above, but this time select Supplier records as displayed.
When browsing for the file from Autowork Online, select purchase.csv. The data mappings should load automatically as they are the same as those for customer records.
The same will apply for the supplier transactions – this is again done using the Audit Trail Transactions setting and data map and the file to import will be purchase_trans.csv.