Using Package Jobs
Screen changes
The Custom Jobs screen has been updated to use a new layout which simplifies the processes for creating and managing Custom Jobs. The changes are as follows:
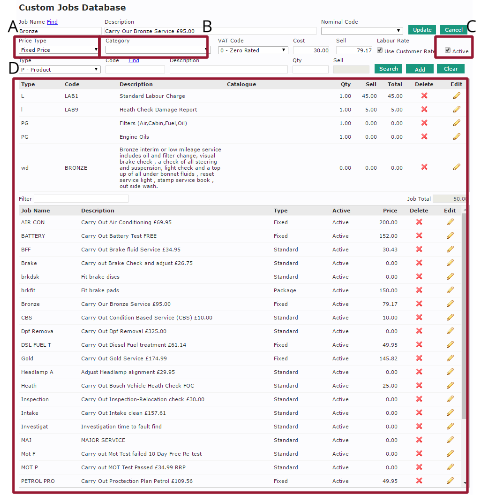
- Price Type dropdown menu – Price types are now selected in a dropdown menu, in order to integrate the new Package Jobs feature
- Job Category dropdown menu – A optional job category can be selected for the job from a predefined list
- Active checkbox – Can be used to flag a job as active, deactivating a job will hide it, but not remove it. You can use this to toggle promotions and seasonal services on and off for example
- Larger grids – The size of the grids showing existing jobs, and the contents of the selected job has been increased and a search filter has been added to help you find the job you want to edit
Please note: Since the new Package Jobs feature was added, it is no longer possible to add a Job to an existing
Job Grouping by clicking the + button against the Job Grouping. This is because the Package job must be kept
on its own separate job group in order for the pricing to be correctly calculated.
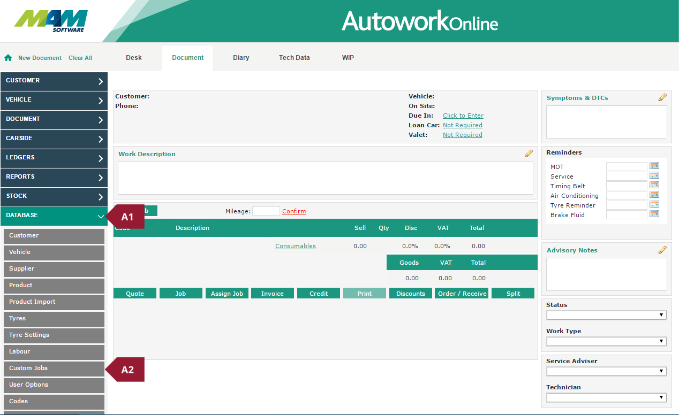
- Click the Database menu (A1), and then the Custom Jobs sub-menu (A2)
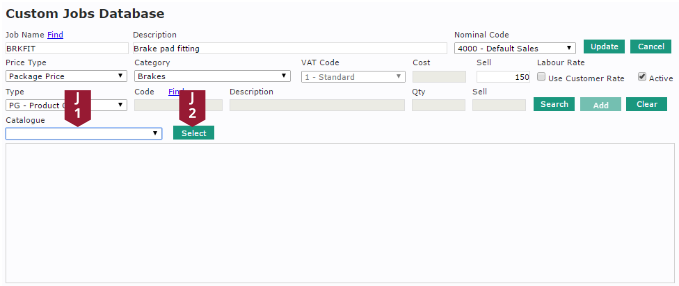
- Enter a Job Name, Description (C), Nominal Code (D), Category (F), and VAT Code (G). Set the Price Type dropdown menu (E) to Package, enter a Selling price (H), and the Type dropdown menu (I) to PG – Product Group
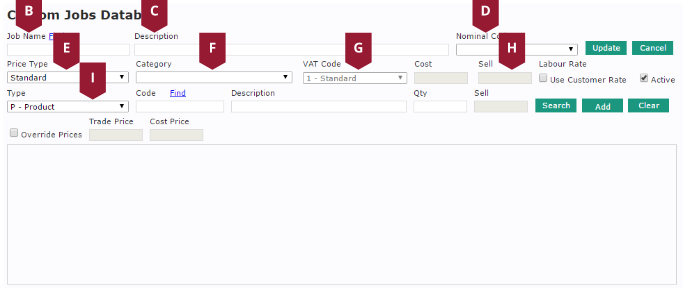
- A new Catalogue dropdown menu (J1) will appear, set this to the required product group, and then click the Select button (J2)
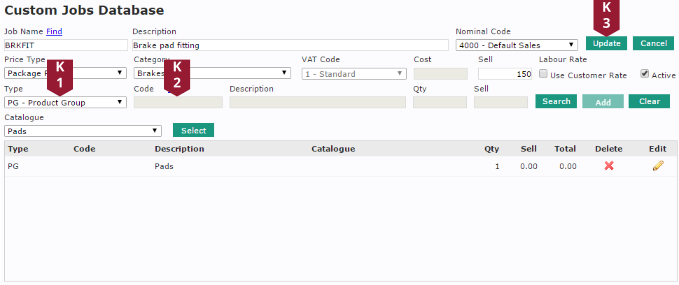
- A new product group line will be added to the table, this represents a part selected from the catalogue, which can have a variable price based on the particular vehicle. Add a labour line by selecting L – Labour from the Type dropdown menu (K1), then enter the relevant Labour Code (K2). This process can be repeated to add individual parts and Work Descriptions if required. When you are happy with your job, click the Update button (K3)
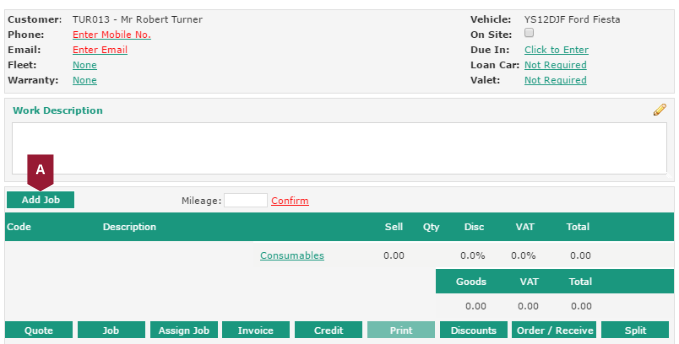
- On the Document tab, with a customer and vehicle entered, click the Add Job button
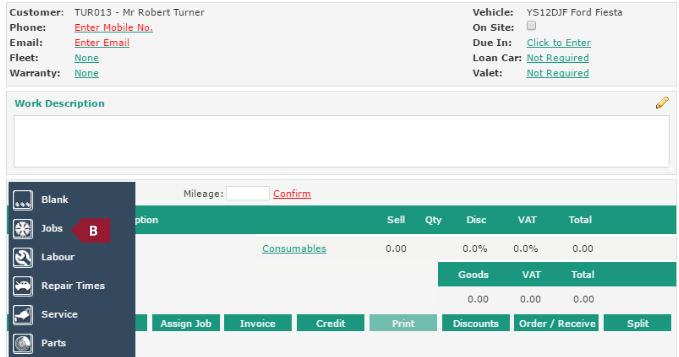
- Click the Jobs option
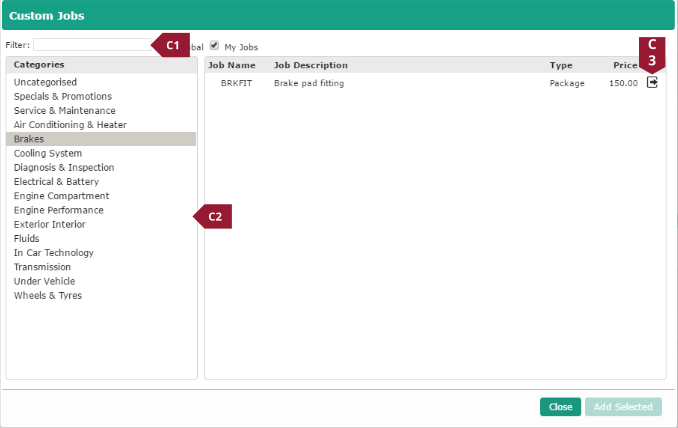
- In the Custom Jobs screen, select the appropriate Category (C1), or enter a Filter query (C2), then click the Add button (C3) against the appropriate job
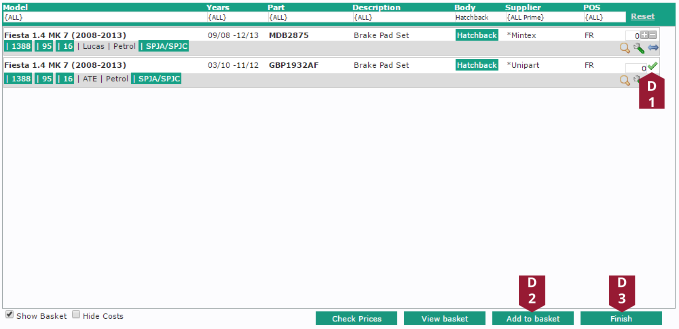
- The Catalogue will automatically open with the correct registration and product group pre-entered. Click the Add button (D1) for the required part(s), then click the Add to basket button (D2), followed by the Finish button (D3)
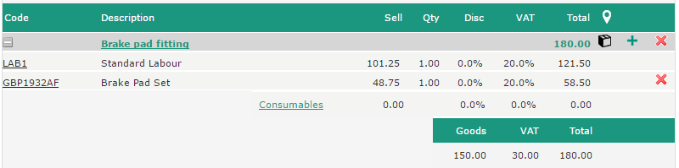
- A job will be added to the document, the cost of the labour line will automatically change to make up the full cost for the package based on the sales value of the part included