Using Automated SMS
The new Automated SMS feature allows for up to three pre-defined SMS text messages to be sent for each reminder. Supported events are:
- Appointments
- Reminders (e.g. MOT due date)
- Deferred Work
SMS reminders can help to boost profit margins by increasing repeat business and reducing time, and money lost due to “no shows”.
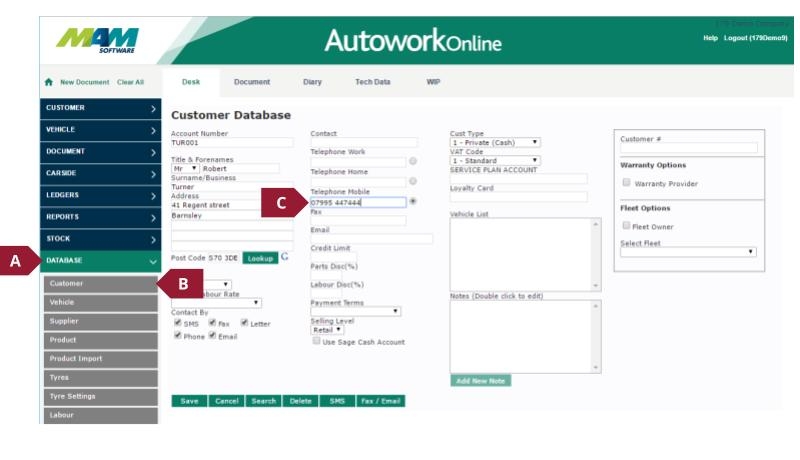
Please note: Before reminders can be used, the customer must have a valid mobile phone number (C) set against them in the Customer (B) section of the Database (A) menu. If the number is changed between the reminder being set, and the reminder sending, the current number at the time of sending will be used automatically.
Mobile numbers can also be added to existing customers on the fly from the Document tab by clicking the Mobile Number link in the screen header.
The sending times of the automated messages will automatically change if the date of the reminder is changed, and any automated messages will be cancelled if the reminder is cancelled.
The Reminder Types screen allows up to three separate reminder text messages to be sent for each specific reminder type. The messages used are the same ones used for manually sent reminders, these can be configured by clicking the Messages link in the User Options menu (see previous screenshot).
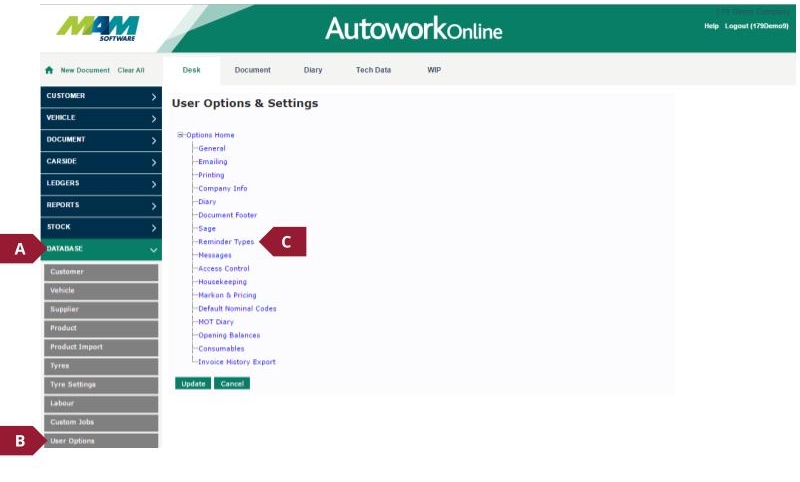
A. Click the Database menu item.
B. Select the User Options menu item.
C. Click the Reminder Types link.
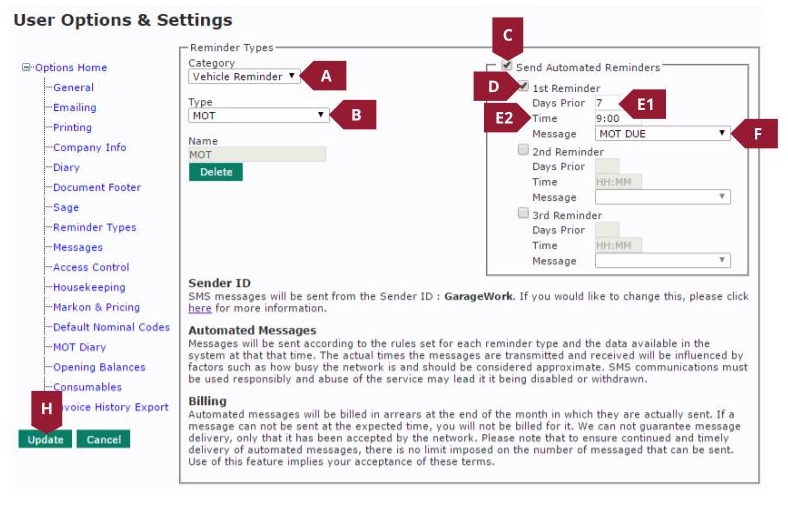
A. Select a Reminder Category from the dropdown menu.
B. Select a Reminder Type from the dropdown menu, or select the Create New option and enter a name.
C. Check the Send Automated Reminders checkbox.
D. Check the 1st Reminder checkbox.
E. Enter a number of Days Prior (E1) to the reminder date to send the message (this can be set to 0 to send the message on the day of the reminders), and set a Time (E2) for the message to be sent (note: This should be treated as an approximation, as many factors can affect the sending time).
F. Select the Message template to use from the dropdown menu.
G. Optionally, repeat steps D – F for the 2nd and 3rd Reminder.
H. Click the Update button to confirm the changes.
When you click update, the following message may display:
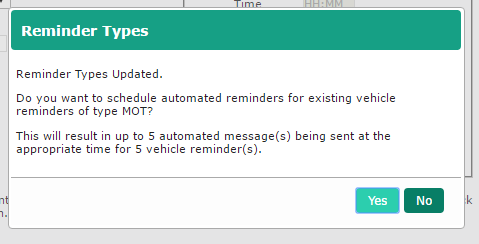
Clicking the Yes button will apply your settings for all future events. If the No button is clicked, the settings will only be applied to newly created or updated events. In neither case will reminders be sent for events in the past.
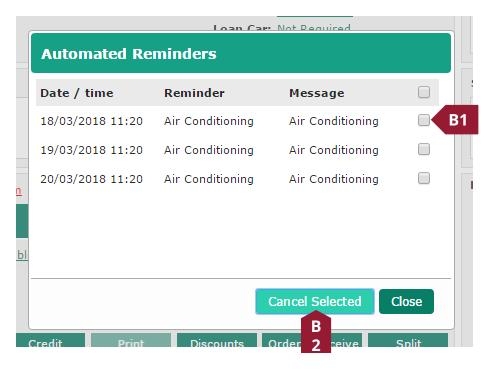
It is also possible to view any pending automated messages via the Document screen, and any unnecessary messages can be cancelled from here.
A. When a customer and vehicle have been entered, a small letter icon will appear in the Reminders section of the screen if there are any automated reminders scheduled for the customer. This will display in red if there are reminders that will be sent in the next 30 days.
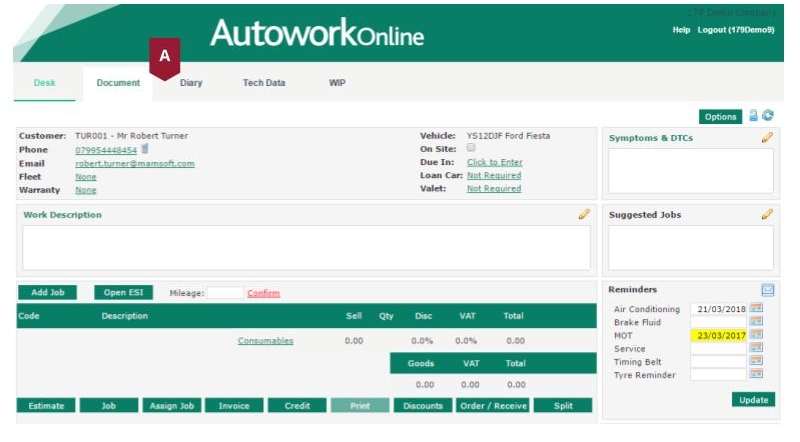
B. Check the boxes (B1) against any reminders you would like to cancel, then click the Cancel Selected button (B2).